Steps to ensure safety and
prolong performance during inactive periods
Sometimes your equipment need to be stopped for long periods of time. Electrolux Professional wishes to provide you with some measures that will prolong the life of your machines and ensure they will be kept to their top performances and safe to use again in the future.
Food solutions
ATTENTION
Before carrying out any operation, remember to wear suitable PPE (personal protective equipment) such as: glasses, masks, gloves, safety shoes, suitable work clothes, etc.
In case of doubt, please refer to your local Electrolux Professional service agent: they will be happy to support you.
Stainless steel
painted / coated surfaces – equipment in general
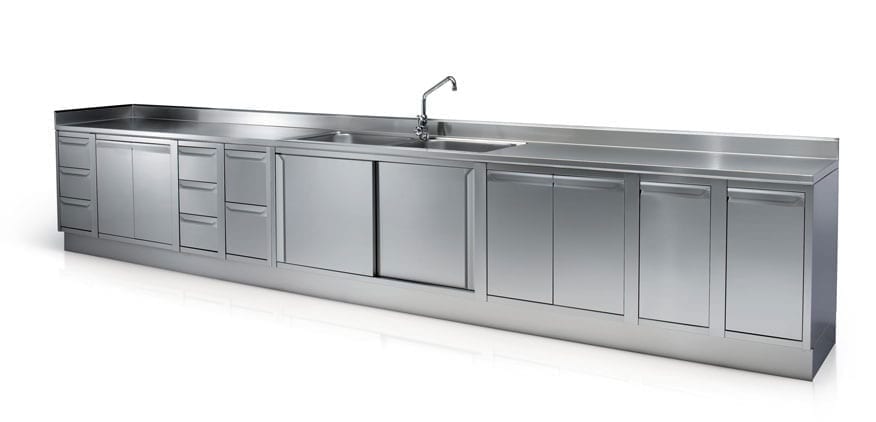
A. Idle preparation:
- Clean all surfaces from dust, debris and grease. Avoid using detergents containing abrasive substances, steel wool, brushes or steel scrapers
- Once the surfaces are clean, protect all stainless-steel surfaces of tables, neutral surfaces, storage and preparation areas with a thin layer of petroleum jelly in order to preserve the integrity of the material.
- Whenever possible, cover with a plastic sheet to avoid accumulation of dust, making sure it doesn’t stick to the surface, so that no crevice corrosion is triggered
B. Recovering from idle:
- Clean all surfaces from the protective film, then sanitize all the surfaces which could be in contact with foodstuffs. Caution: chlorine-based products are sanitizing but alter the protective layer of the stainless steel and shall not be used.
- It is recommended to use dedicated products based on hydrogen peroxide or quaternary ammonium. Ethanol with biocidal properties can also be used.
- After the sanitization thoroughly rinse with water and a damp cloth and carefully dry all stainless steel surfaces in order to prevent oxidization.
- In case the surfaces were not properly cleaned before the idle time, refer to the instructions provided above.
- Remember to ventilate the premises during these actions.
Gas open burners – oven ranges
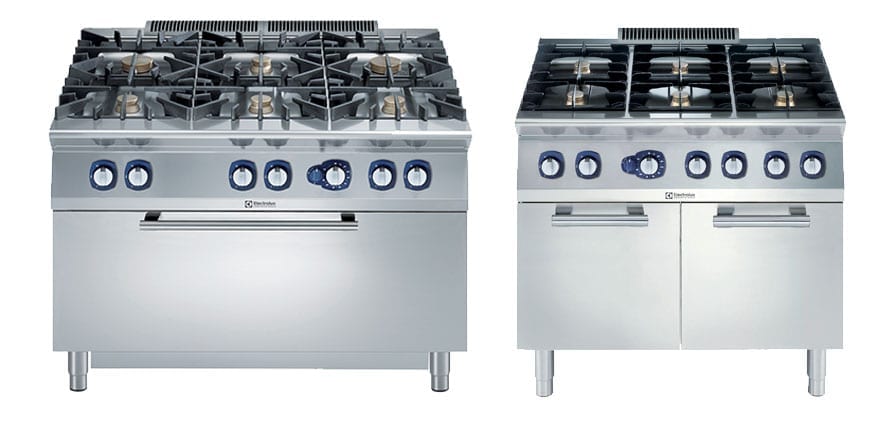
A. Idle preparation:
- Thoroughly clean burners, trivets and surfaces with a damp cloth. Make sure the cloth doesn’t leave any lint.
- Carefully clean the tip of thermocouples with a brush with no metal bristles.
- Take high care preventing gas nozzles to get blocked or clogged.
- Clean and dry oven chamber – leave oven door ajar to allow air to circulate inside, unless there is a risk of dust, insects, pests, etc. getting into the cavity.
- Close any gas valves and isolate gas supply at the nearest isolation point.
B. Recovering from idle:
- Open the gas valves.
- Check the flames consistency (max, min) per each burner.
- Ovens: before operating, check any presence of vermin and act accordingly.
Cooking surfaces:
grill, griddle, simmer plate, ceramic hob, braising pan
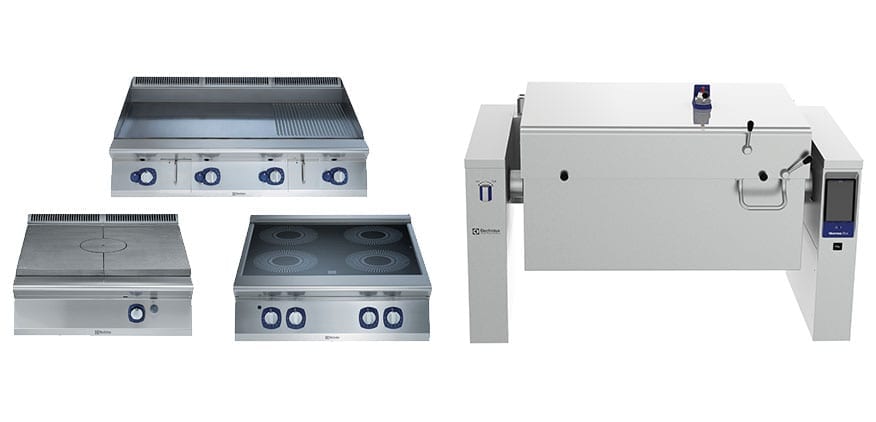
A. Idle preparation:
- In case of sticking residues, gradually increase the temperature to the maximum possible in order to cause pyrolysis of these. Once charred and the element temperature has dropped, use hot degreasers such as C40 Degreaser (code 0S1841), which works at 175 °C or at a lower temperature with a soft cloth and lukewarm soapy water.
- If necessary, use a scraper: starting from the furthest part of the surface, pull the scraper towards you, removing any sticky deposit. Be careful not to damage the surface.
- The use of cold water or ice cubes is strictly prohibited, as it would cause a thermal shock and damage your cooking elements.
- Empty and clean any grease/dirt collecting drawer, basin or bucket.
- For direct cooking surfaces (such as griddle, braising pan), once the surfaces have been degreased and washed, heat up for at least 5 minutes to dry them, then switch off the heating and coat them with a thin film of vegetable oil.
- Where possible, lift hob and clean underneath.
A. Recovering from idle:
- Electrical heated equipment: set the power/temperature at the minimum for at least 1 hour to prevent electric heating elements fault due to possible accumulated humidity.
- In case surfaces were not properly cleaned when stopping activities, first carry out the operations as per the ‘Idle preparation’ section.
- Cooking surfaces does not need sanitization with chemical agents as the working temperatures provide the same effect: remember, before carrying out the first cooking, heat up at max power for some minutes.
- On direct cooking surfaces, renovate the vegetable oil coating.
Fryers
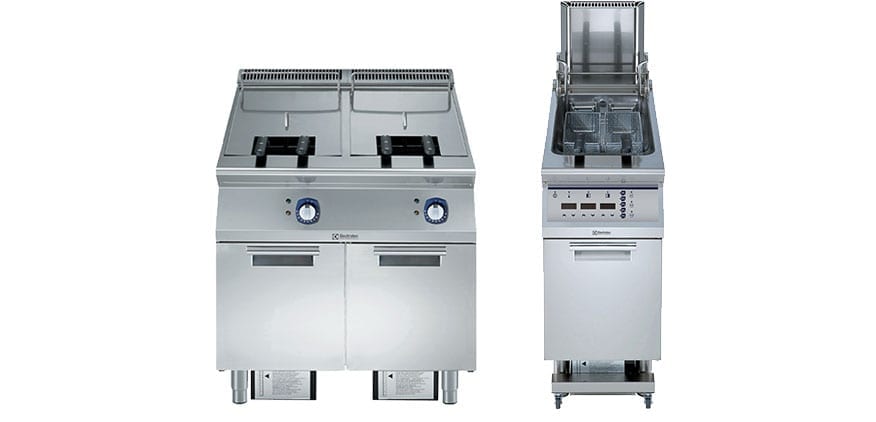
A. Idle preparation:
- Drain any oil from tanks in all cases and have it disposed through the usual recycling channel. It is recommended not to filter it for reuse, in particular because of the concentration of acrylamide and release of ketone and aldehyde (oxidation of oil and absorption of moisture).
- Fill tanks with water and 10% vinegar, then pour some spoons of baking soda; fierce boil some minutes for an effective cleaning. The following draining will also degrease and clean hoses, taps, buckets and oil filtration systems.
- Once cleaned, carefully dry any surface.
- Clean any baskets, detachable basket supports, etc. in a dishwasher.
- Finally, put the basket(s) in the tank and cover with the lid (where available).
B. Recovering from idle:
- Electrical heated equipment: set the power/temperature at minimum for at least 1 hour to prevent electric heating elements fault due to possible accumulated humidity.
- In case oil was not drained from the tanks before stopping activities, first carry out the operations as per the ‘Idle preparation’ section. WARNING for solid oil/grease (like palm oil): melt oil down for draining it, as heating up normally might provoke the oil to take fire.
- Before operating, check any presence of dust, insects, pests, etc. and act accordingly.
Bain-marie, pasta cooker and self-service elements:
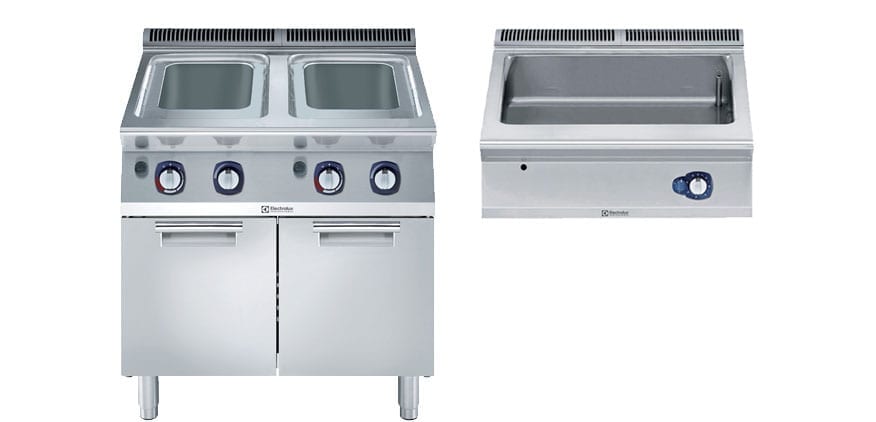
A. Idle preparation:
- Wait for the tanks and the residual water to cool down, then completely drain them. Do not drain water from pasta cooker if hot: failure to follow this indication may damage the tank. Descale any limestone deposit with a suitable product (or hot white vinegar). Check the condition and the presence of seals on the drain plugs. Remove debris, then rinse and dry all stainless steel surfaces finally protecting them as per the section “Stainless steel – painted / coated surfaces – equipment in general” indications.
- Close any water supply valve.
B. Recovering from idle:
- Open water supply valves and fill tanks before any switch ON (failure to follow this indication might damage the tank).
- Electrical heated equipment: set the power/temperature at minimum for at least 1 hour to prevent electric heating elements fault due to possible accumulated humidity.
- In case the water was not drained at the time of the idle preparation, follow the relevant indications.
- Before restarting to work, it is recommended to carry out the sanitization operations like reported in the section “Stainless steel – painted / coated surfaces – equipment in general”.
Salamanders
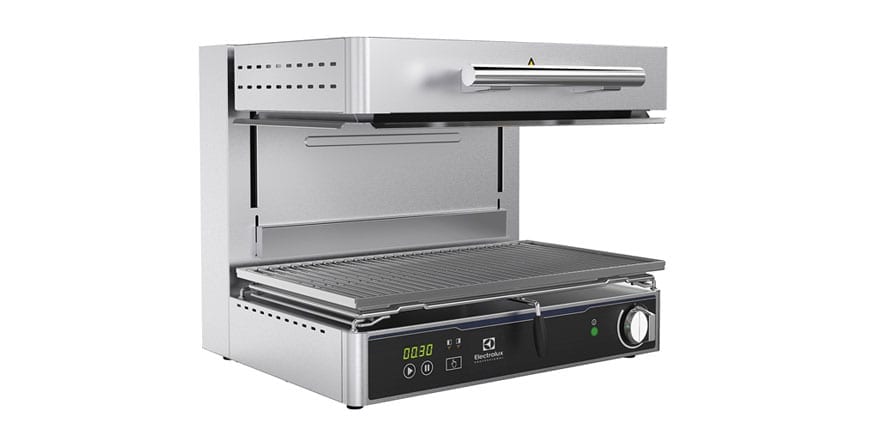
A. Idle preparation:
- Isolate electric power supply (electrically powered units) or gas supply (gas heated units) at the nearest isolation point.
- Clean tray and grilling area.
B. Recovering from idle:
- Electrically powered units: set the power/temperature at the minimum for at least 1 hour to prevent electric heating elements fault due to possible accumulated humidity.
- Gas heated units: open the gas valve and check the flame consistency (at max and min).
Boiling pans
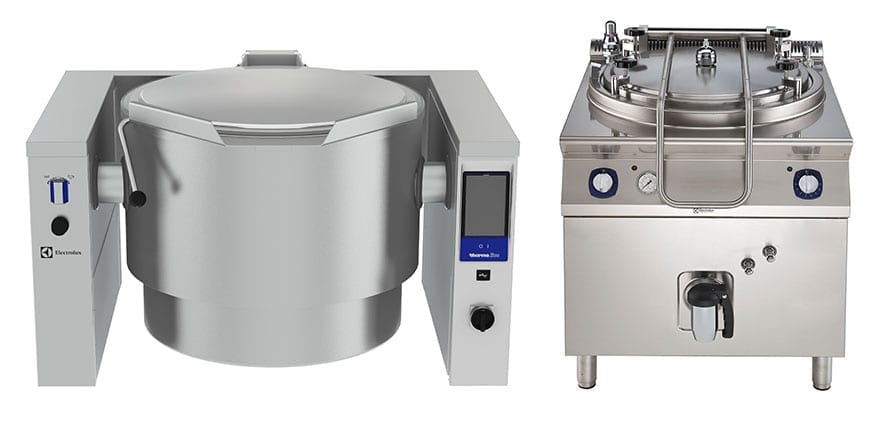
A. Idle preparation:
- Thoroughly clean the vessel, removing grease and dirt residues. Descale if necessary.
- Rinse and dry, then protect the vessel surface with petroleum jelly and close the lid.
- Remove the drain tap (where present): clean it thoroughly and grease it with food lubricant.
- Turn off all the supplies (gas, electricity, water).
B. Recovering from idle:
- Restore the supplies.
- Thoroughly clean the vessel, removing all the protective petroleum jelly.
- In case the vessel was not properly prepared to idle, it will be required a thorough cleaning/degreasing.
- Check the drain tap functionality: re-grease if sticky.
- Fill the vessel with water: fierce boil and drain.
- Check if any visible water leakage from underneath (in case, a specialized engineer is required).
Speedelight
High Speed Panini Grill/Press
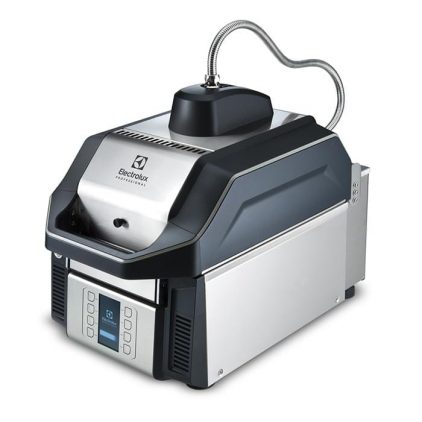
A. Idle preparation:
- Carry out full cleaning as per weekly routine, including the daily cleaning plus the extra-operations to be performed every week. Use the detergent C41 – code 0S2292 (which works at 175 °C or at a lower temperature)- allowing to soak for 1 minute.
- All parts (including the working top, the glass, the upper plate, the cooking chamber, the choke cover and the steam exhaust chamber) need to be clean and thoroughly degreased: disassemble the parts according to the user instruction manual. After cleaning the glass, protect it with the “high temperature silicone pad” (code 653527).
- Remove the frontal bezels and clean / replace the cooling air intake filters.
- Finally, close the lid and isolate the power supply.
B. Recovering from idle:
- Open the lid and remove the internal silicone pad.
- In case the unit was not properly prepared to idle, first carry out full cleaning as per weekly routine.
- It is recommended cleaning the cooking surface before restarting the cooking operations.
- Turn on the power supply and switch on the unit.
Combi and Convection ovens
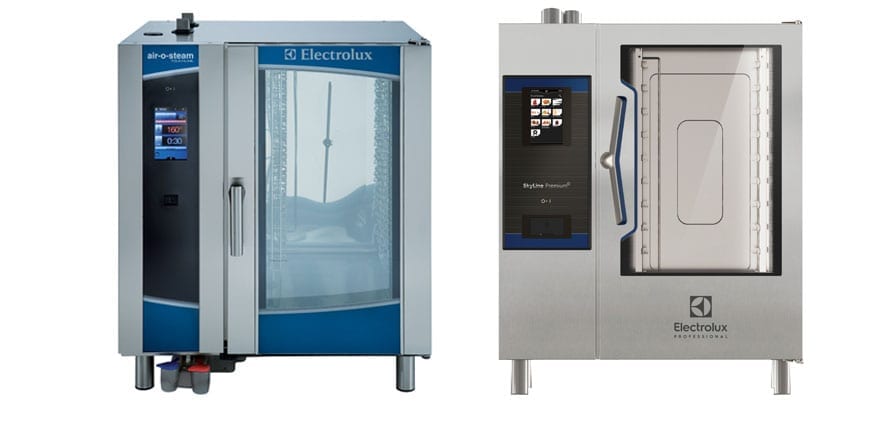
A. Idle preparation:
- Perform an automatic cavity cleaning cycle; then clean the door gasket and the air intake filter on the front panel.
- Complete the cavity cleaning removing any debris from the fan area: remember to isolate the electrical power supply before removing the fan guard.
- For liquid cleaning chemical: it is also recommended to run a final light cleaning program with the detergent and rinse hoses connected to water: this will clean hoses and pumps, hence preventing the chemical from crystallizing into them.
- Leave the door slightly open, unless there is a risk of dust, insects, pests, etc. getting into the cavity.
- Units with boiler: descale boiler (this may require a specialized engineer).
- Close the supplies (water or gas).
B. Recovering from idle:
- Open supplies (water or gas).
- In case the oven was not properly prepared to idle, or the door was left completely shut, first clean the cavity (for liquid cleaning chemical, the condition of the detergent and rinse aid pumps have to be checked by a specialized engineer).
- Clean the door gasket and the air intake filter on the front panel.
- Check that the boiler empties automatically.
- Check the tightness of the door seal in steam mode, wash it with soapy water, rinse and dry it.
- Check the condition of the gasket and the tightness of the light portholes.
- Check the seal and tightness of the core probe.
- Clean the air intake filter on the front panel.
- Check the drain siphon.
- In any case, before operating, check if any presence of dust, insects, pests, etc. and act accordingly.
- Other operations requiring a specialized engineer:
- Check the tightness of the water solenoid valves
- For liquid cleaning chemical, before running the first cavity cleaning, check the condition of the detergent and rinse aid pumps, test the pumps
- Remove and clean the water level probes and descale if necessary
- Check the tightness of the electrical terminals including power contactor
- Check that the convection fan is not seized, otherwise replace the seal
- For gas, first remove the burners and clean the interior, then check the ignition and ionization electrodes replace them if necessary
Dishwashers – FRONTAL & HOOD TYPE
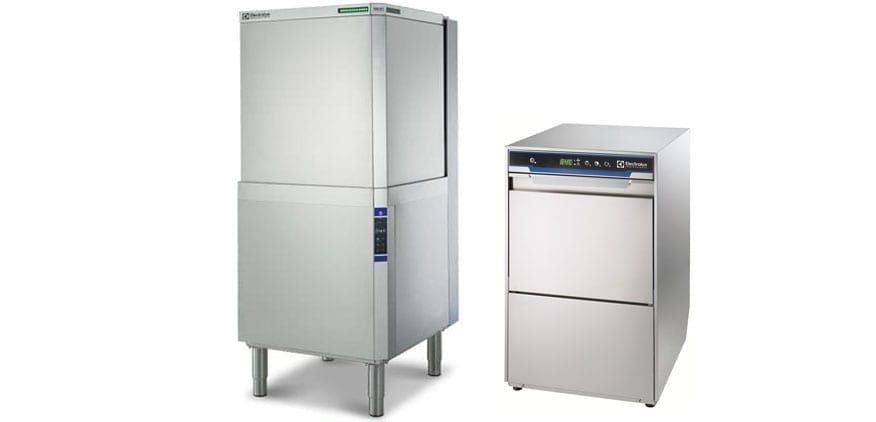
A. Idle preparation:
- Thoroughly clean the wash tank, also removing any debris, incrustations and grease accumulations (descale if needed).
- Close the water inlet valve and disconnect the mains.
- Clean the filters, overflow drain, washing and rinsing arms.
- Drain the boiler if equipped with a rinse pump.
- Check the external general condition of the machine.
- Clean the immersion heater and descale if necessary.
- Check the detergent and rinse agent (s) quantity and close the tanks (depending on equipment) to prevent the detergent and rinsing agents to dry.
- Clean the detergent and rinse hoses.
- Clean the water inlet filter and check the water inlet and drain hoses (replace if needed).
- Clean the condenser (depending on equipment).
- Leave door (front load washers) or hood (hood type washers) ajar, unless there is a risk of dust, insects, pests, etc. getting into the unit.
B. Recovering from idle:
- Replace the peristaltic pumps hoses (a specialized engineer might be needed).
- Open water inlet valve and switch ON the mains.
- In case the dishwasher was not properly prepared to idle, first refer to the above operations.
- In any case check the cavity if any presence of dust, insects, pests, etc. and thoroughly clean.
- Fill then run several washing cycles in order to remove any residues.
- Prime the washing and rinsing product (s) pumps.
- Drain and then put the device back into service.
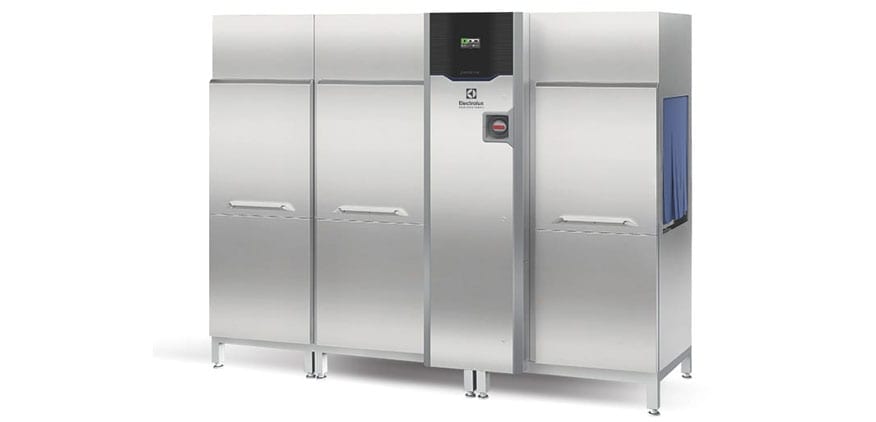
Dishwashers – AUTOMATIC CONVEYOR
A. Idle preparation:
- Thoroughly clean tanks, also removing any debris, incrustations and grease accumulations; descale.
- Close the water inlet valve and disconnect the mains.
- Clean the curtains, filters, overflow drain, washing and rinsing arms.
- Clean the immersion heaters and descale if necessary.
- Check the condition of the water inlet hoses for any cracks.
- Clean the condenser if present.
- Check the detergent and rinse agents quantity and close the tanks (depending on the equipment type) to prevent the detergent and rinsing agents to dry out.
- Rinse the detergent hoses
- Leave door (s) ajar, unless there is a risk of dust, insects, pests, etc. getting into the unit.
B. Recovering from idle:
- Open water inlet valve and switch ON the mains.
- In case the dishwasher was not properly prepared to idle, first refer to the above operations.
- In any case check the cavity if any presence of dust, insects, pests, etc. and thoroughly clean.
- Fill up and then several washing cycles in order to remove any residues.
- Prime the washing and rinsing product (s) pumps.
- Check tightness of the overflow pipes and drain valves.
- Drain and then put the device back into service.
- Other operations requiring a specialized engineer:
- Replace the hoses of the peristaltic pumps
- Check the seals and filters of the water inlet solenoid valves
- Check the tightness of the wires on the contactors and electrical components
- Check the heating element impedance
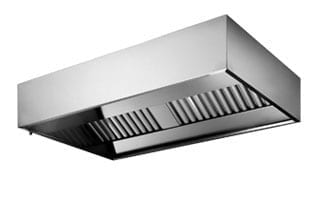
Ventilation systems
A. Idle preparation:
- Turn off power supplies.
- Clean the canopy hood.
- Wash the baffle filters and grease cups and leave them off placed on tables, ready for being reassembled when reopening the kitchen.
B. Recovering from idle:
- Clean the canopy hood and reassemble baffle filters and grease cups.
- Turn on power supply.
Water treatmetns

Water treatment reverse osmosis system
Where possible, drain water from the treatment system before proceeding to the next steps.
A. Idle preparation
- Isolate the electric supply and turn the water supply off.
B. Recovering from idle:
- Replace the pre-filters.
- Turn the water supply on.
- Sanitize the device.
Water softener with regeneration
Where possible, drain water from the treatment system before proceeding to the next steps.
A. Idle preparation:
- Clean the salt out of the brine box.
- Isolate the electric supply or switch off regeneration mechanical timer (where present) and turn the water supply off.
B. Recovering from idle:
- Refill salt.
- Switch on or reset regeneration cycle timer.
- Turn the water supply on.
Water softening
systems
Where possible, drain water from the treatment system before proceeding to the next steps.
A. Idle preparation:
- Turn the water supply off.
B. Recovering from idle:
- Replace softening cartridges.
- Turn the water supply on.
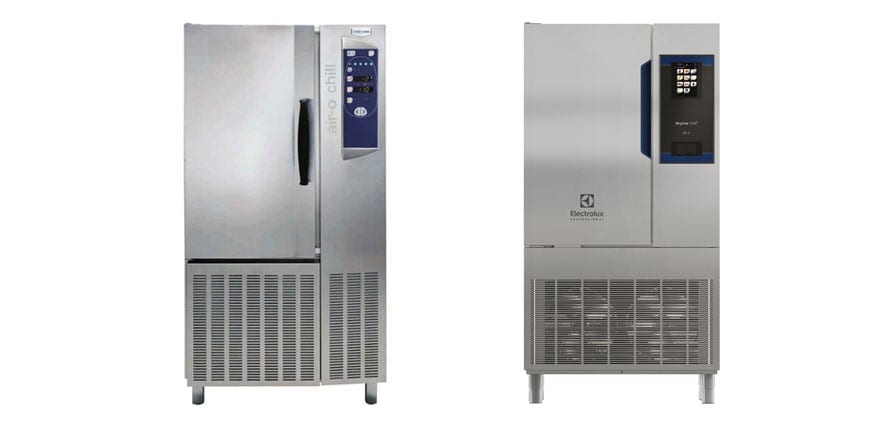
Blast chiller-freezer
A. Idle preparation:
- Clean the evaporator with soapy water and rinse it
- Clean the condenser and the fans (this operation may require a specialized engineer).
- Clean the door seal with soapy water, rinse and dry it.
- Clean the interior of the cell and dry.
- Clean the condensate tray or the siphon drain (depending on installation).
- Leave door slightly open to prevent it smelling, unless there is a risk of dust, insects, pests, etc. getting into the cavity.
B. Recovering from idle:
- In case the unit was not properly prepared to idle, first refer to the above operations.
- In any case check the cavity if any presence of dust, insects, pests, etc. and thoroughly clean.
- Other operations requiring a specialized engineer:
- Check that the evaporator fan is not sized, unblock it by hand, if noisy bearing, replace the fan
- Check the condenser fan (replace if sized)
- Carry out a cold test and check the measurement of the probes (see service manual test probes).
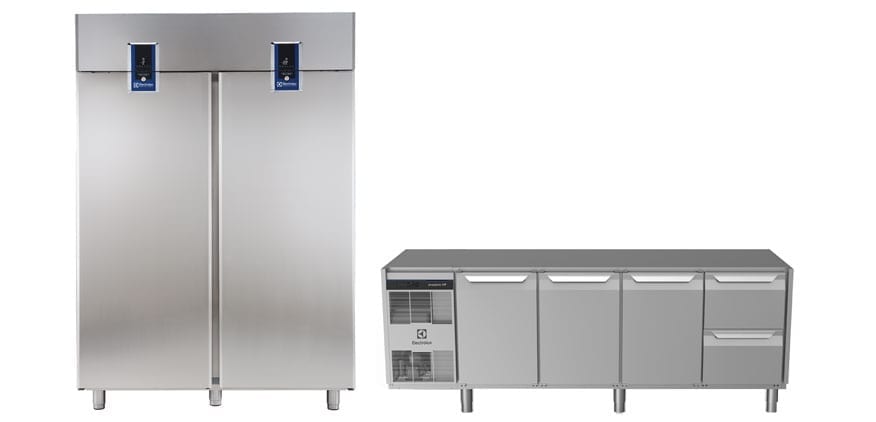
Cold units
(Cabinets, Counters, Tables, Displays, Freezers, Cold Rooms)
A. Idle preparation:
-
- Empty all food and other content.
- Carry out a manual defrost on the controller if available.
- Clean the condenser and the fans (this operation may require a specialized engineer).
- Check the air passage on the evaporator, if dirty, clean with soapy water and rinse.
- Clean interior and door / drawer gasket with soapy water, rinse and dry it.
- Clean the condensate tray or the siphon drain (depending on installation).
- Ensure door (s) safety release (where present) works correctly.
- Leave door(s)/drawer(s) slightly opened to prevent it smelling, unless there is a risk of dust, insects, pests, etc. getting into the cavity.
1. FREEZERS: depending on the length of the idle period, it may still be possible to leave food inside the unit and the power on.; later on, the food will still be usable if the preservation won’t exceed the expiry date
- Ensure the food is stacked on shelves with spaces between each shelf
- Ensure nothing is left on the base/floor of the unit
- Ensure all food is properly tagged with its own preservation expiry date
2. COLD ROOMS: remove all stock
- Clean the interior (floor, walls, shelving, door gaskets)
- Remove and clean any door strip curtains, then leave off placed flat on the shelving
- Leave door (s) open: if needed use cardboard to prevent the door automatically closes
- Other operations requiring a specialized engineer:
- Isolate the condensing unit
B. Recovering from idle:
- In case the unit was not properly prepared to idle, first refer to the above operations.
- In any case check the cavity if any presence of dust, insects, pests, etc. and thoroughly clean.
- Put the cooling unit back into service and check the temperature drop and correct regulation (purely as a set point -18 ° C negative and 2 ° C positive).
- Check the calibration of the regulation probes with your calibrated thermometer.
- Where FREEZERS were left working with food inside: carefully check the expiry dates for the storage of food, thus disposing what has expired.
- Restore door strip curtains in COLD ROOMS.
- Ensure door (s) safety release (where present) works correctly.
- Other operations requiring a specialized engineer:
- Check that the evaporator fan is not sized, unblock it by hand, if noisy bearing, replace the fan
- Check the condenser fan (replace if sized)
- Carry out a cold test and check the measurement of the probes (see service manual test probes).
- for COLD ROOMS:
- Re-connect the condensing unit
- Check and replace power failure battery
Ice maker
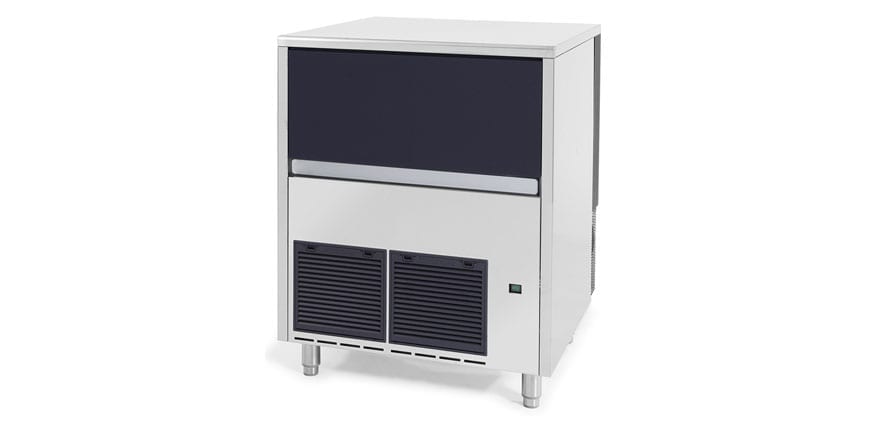
A. Idle preparation:
-
- Remove ice from the storage bin. For ice dispensers, keep the button pressed until no further ice is dispensed.
- Drain water from internal storage compartments (a specialized engineer may be required).
- Turn off the water supply and electrical supply.
- Allow the icemaker to drain any water away, pour a mug full of sanitizing solution down the drain of the unit or storage bin. Wipe around the inside of any storage bin with sanitizer wipes/cloth. Carefully dry out all the surfaces.
- Remove the water filter from the fitting and tip out any water present, re-fit once empty.
B. Recovering from idle:
- Turn on the water supply and electrical supply.
- Allow the unit to drain water for 2 minutes at least in order to have the internal circuit clean and ready to use the ice cubes.
Vegetable cutters, mixers, blenders, peelers and the like
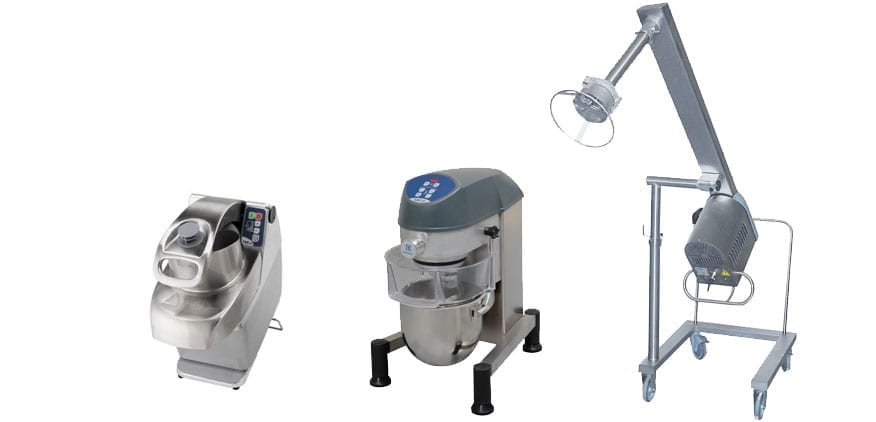
A. Idle preparation:
-
- Disconnect from the power supply.
- Where possible, disassemble and clean blades (WARNING: SHARP), disks, bowls, whisks, hoppers and accessories, then flush under tap water. Make sure to remove any sticking residue.
- After cleaning, wipe and protect metals with a food grade lubricant.
B. Recovering from idle:
- Remove the protective food grade lubricant where applied and reassemble all parts.
- Other operations requiring a specialized engineer:
- Check the tightness of the drive shaft seals
- Check the condition and tension of the belts
- Lubricate the inner parts, if needed
Kitchen drainage
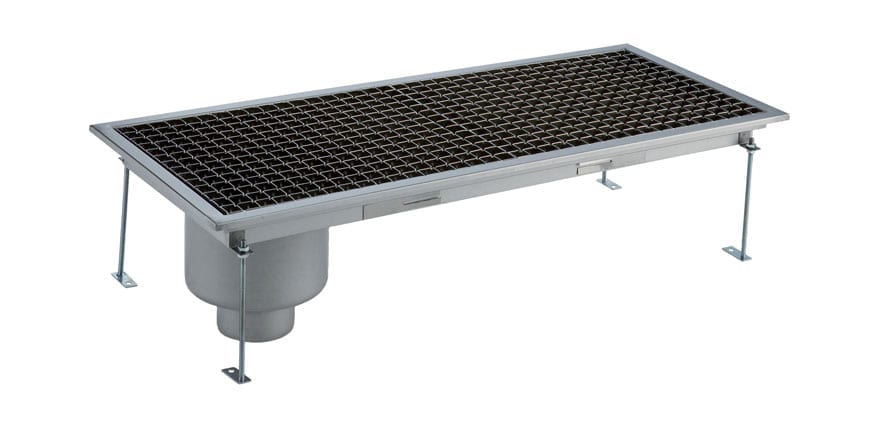
A. Idle preparation:
-
- Clean out sink outlets.
- Clean out floor traps.
- Clean out internal drain pumps.
- Clean out “grease traps” and “grease removal units”.
- Ensure all traps are sealed and contain clean water.
- Eradicate all waste from the premises.
B. Recovering from idle:
- Remove any result of the pest control measures.
- Flush water through all drainages.
Beverage solutions
ATTENTION
Before carrying out any operation, remember to wear suitable PPE (personal protective equipment) such as: glasses, masks, gloves, safety shoes, suitable work clothes, etc.
In case of doubt, please refer to your local Electrolux Professional service agent: they will be happy to support you.
Fully automatic espresso machines
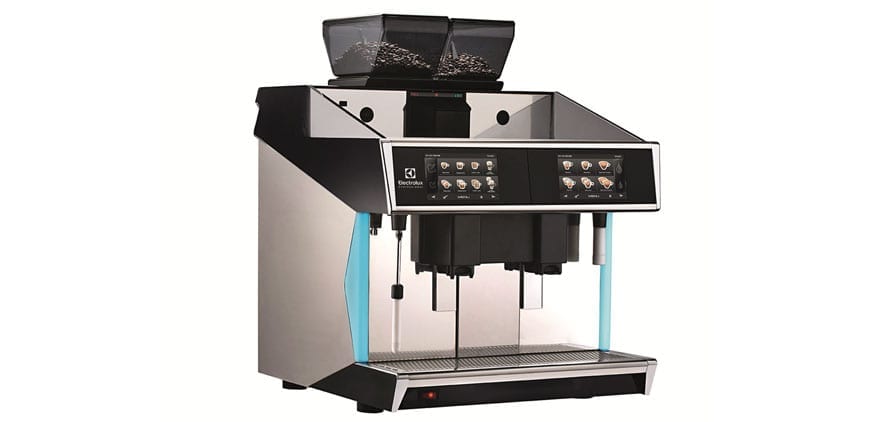
A. Idle preparation:
Proceed in detail to the cleaning of the full coffee distribution circuit using appropriate cleaning tabs, and to the milk circuit with RINZA detergent cod. 0UN125
- Clean the coffee spouts, steam and STEAMAIR® outlets
- Empty the waste coffee drawer
- Shut down the machine and unplug it
- Shut the water supply off
- Carefully dry all the surfaces
- Cover the machine to protect it from dust or other contaminating elements. Use the original package, if available, or other suitable means. Place the machine in dry location
B. Recovering from idle:
- Clean and remove the remaining bean or chocolate powder in the hoppers: (vacuum cleaner is better).
- Recharge them using a new package. Don’t use an opened package.
- If you have a filter cartridge on your water network, it must be replaced if there has been no water circulation for the last 4 weeks, contact your customer service for intervention.
- Turn the water supply on.
- Reconnect the machine to power.
- Turn the power on and wait for the heating to finish.
- Pull out the drawer and put it back in place, then confirm by pressing “YES” for 3 seconds => rinsing is started automatically. Repeat this operation at least 2 times and check that the water flows through the spout(s).
- Make several coffees, checking for any leaks under the machine.
- Check the operation of the steam and hot water outlets.
Traditional espresso machines
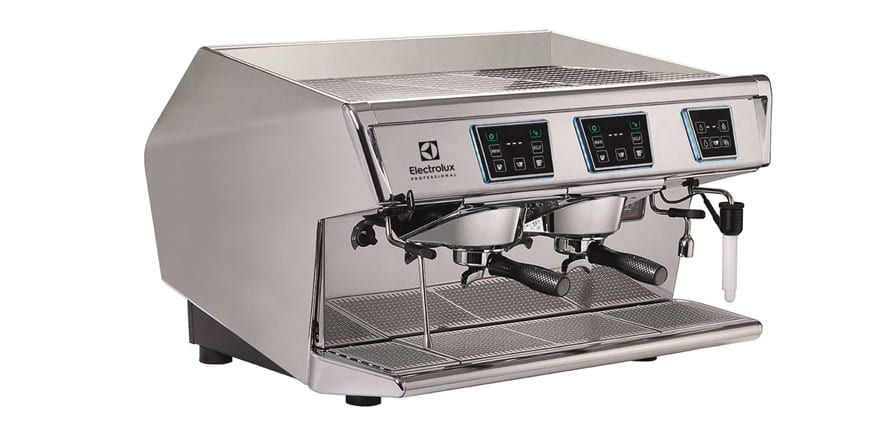
A. Idle preparation:
- Proceed in detail to the cleaning of the groups using cleaning tabs and appropriate detergent to clean the porta-filters, steam and STEAMAIR® outlets
- Shut down the appliance and unplug it
- Shut the water supply off
- Turn on slowly the steam commands and leave it on (Be careful to steam burns!)
- Carefully dry all the surfaces
- Cover the machine to protect it from dust or other contaminating elements. Use the original package, if available, or other suitable means. Place the machine in dry location
B. Recovering from idle:
- Empty the grinders of their coffee if this was not done during the shutdown and clean the hoppers.
- Recharge them using a new package.
- If you have a filter cartridge on your supply network, it must be replaced if there has been no water circulation for the last 4 weeks, contact your customer service for intervention.
- Turn the water supply on
- Close the steam taps if you have any
- Reconnect the machine to power
- Turn the power on :
- If 2 positions (0 and 1): set to 1.
- If 3 positions (0, 1 and 2): set to 1 and wait for the filling of the machine (the pump is heard to run) then, when the pump stops (water level OK), set the switch to 2 to start heating.”
- Run water on all the groups to check that they are not blocked.
- If the water flows to all the groups, repeat the operation between 5 and 10 times to renew the water in the coffee boilers.
- Check the pressures of the 2 circuits :
- Steam Circuit: between 0.8 and 1.2 Ba.
- Coffee Circuit: between 8 and 10 Bar while making coffee”.
- Perform a steam and hot water test.
- Check that there is no leakage under the machine.
Fridge
A. Idle preparation:
- Proceed in detail to the cleaning of the groups using cleaning tabs and appropriate detergent to clean the porta-filters, steam and STEAMAIR® outlets
- Shut down the appliance and unplug it
- Shut the water supply off
- Turn on slowly the steam commands and leave it on (Be careful to steam burns!)
- Carefully dry all the surfaces
- Cover the machine to protect it from dust or other contaminating elements. Use the original package, if available, or other suitable means. Place the machine in dry location
B. Recovering from idle:
- Check the cleanliness of the refrigerator and switch it on.
- After a minimum of 15 minutes, reload in previously cooled milk.
- Test your Milk products several times (Capuccino, Latte, etc.).
- Check for leaks at the spout and under the machine.
Precision Brewer
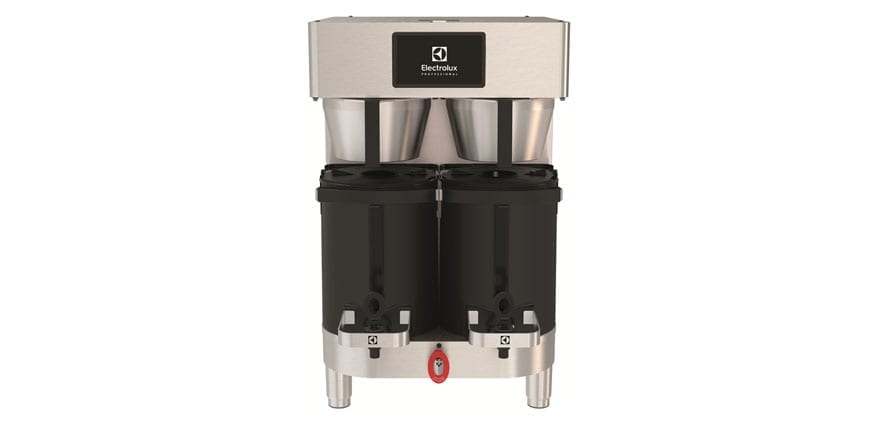
A. Idle preparation:
- Shut down the appliance and unplug it from power
- Remove lower panel.
- Drain water from drain tube by removing plug.
- Disconnect the appliance from water supply.
- Clean and dry all parts per as per instruction manual.
- Cover the machine to protect it from dust or other contaminating elements. Use the original package, if available, or other suitable means. Place the machine in a dry location
B. Recovering from idle:
- Connect the appliance to water supply
- Turn on the water supply
- Connect the appliance to the power
- Turn unit power on.
Bubblers
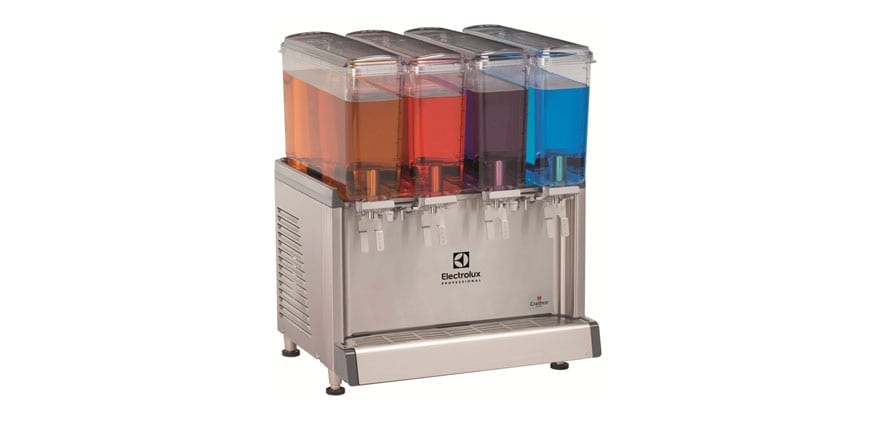
A. Idle preparation:
- Drain product from bowls.
- Shut down the appliance and unplug it from power.
- Disassemble unit.
- Clean parts (bowl, impeller, vales, handles and gaskets..) with sanitizer solution and allow to air dry, as per instruction manual.
- Cover the machine to protect it from dust or other contaminating elements. Use the original package, if available, or other suitable means. Place the machine in a dry location.
B. Recovering from idle:
- Assemble parts (bowl, impeller, vales, handles and gaskets..)
- Connect to power
- Refill with premixed liquids
- Turn unit on
Hot water dispenser
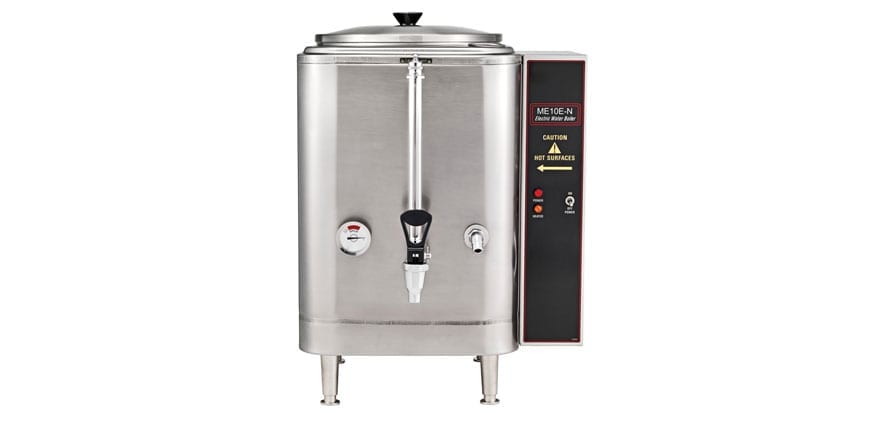
A. Idle preparation:
- Shut down the appliance and unplug it from power
- Remove lower panel.
- Drain water from drain tube by removing plug.
- Disconnect from water supply.
- Clean and dry parts per as per instruction manual
- Cover the machine to protect it from dust or other contaminating elements. Use the original package, if available, or other suitable means. Place the machine in a dry location
B. Recovering from idle:
- Connect unit to water supply
- Turn on water
- Connect unit to power
- Turn unit power on
Pour over
A. Idle preparation:
- Shut down the appliance and unplug it from power and allow to cool.
- Take unit to a sink
- Turn unit on its top to allow water to pour out.
- Clean and dry parts per as per instruction manual
- Cover the machine to protect it from dust or other contaminating elements. Use the original package, if available, or other suitable means. Place the machine in a dry location
B. Recovering from idle:
- Reconnect unit to power.
- Fill with water according to manual instructions.
Grinders
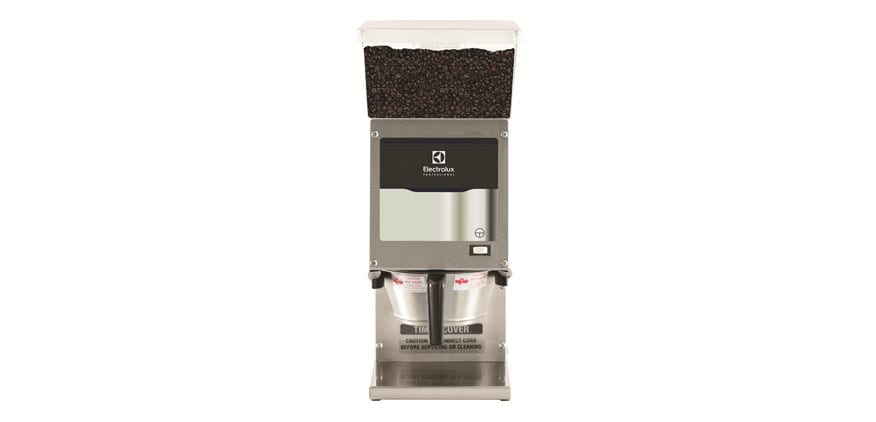
A. Idle preparation:
- Run grinder until empty of beans
- Disconnect from power
- Clean and dry parts per as per instruction manual
- Cover the machine to protect it from dust or other contaminating elements. Use the original package, if available, or other suitable means. Place the machine in dry location
B. Recovering from idle:
- Refill beans
- Connect to power
Grind & brew
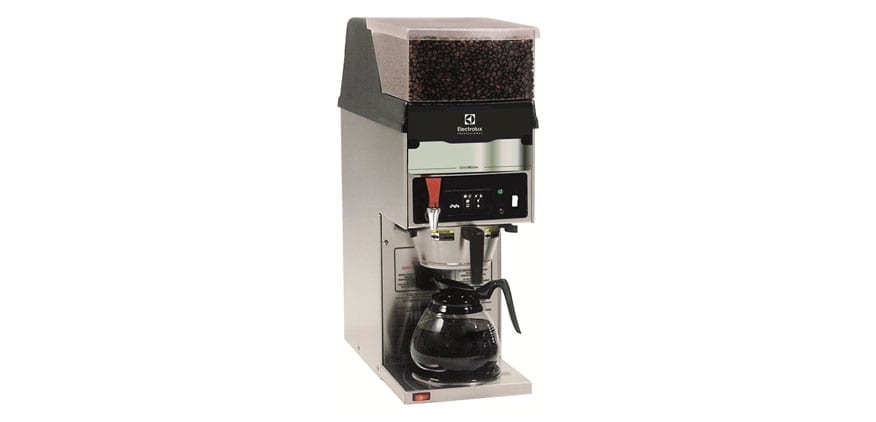
A. Idle preparation:
- Disconnect unit from power.
- Remove lower panel.
- Drain water from drain tube by removing plug.
- disconnect from water supply.
- Remove Beans from Hopper.
- Clean and dry parts per as per instruction manual
- Cover the machine to protect it from dust or other contaminating elements. Use the original package, if available, or other suitable means. Place the machine in dry location
B. Recovering from idle:
- Connect unit to water supply
- Turn on water
- Connect unit to power
- Turn unit power on.
- Refill Hopper with beans.
Granita/Slush machines;
Cold cream machines; Soft Ice cream machines
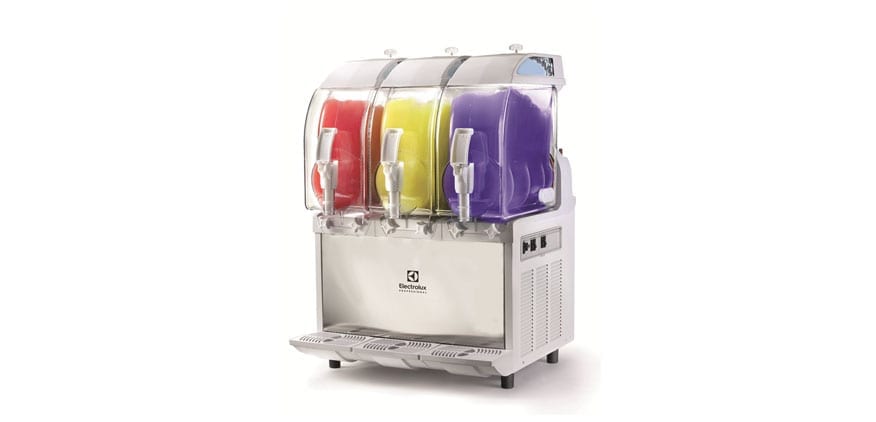
A. Idle preparation:
In order to prepare the unit before a long stop, it’s important to properly store the machine using the following procedures:
- Disconnect all power from the machine.
- Disassemble, wash and sanitize all parts that come in contact with the mix as described in the manual.
- Clean also all the exterior panels, the condenser and its filter if present.
- Reassemble all these parts taking care to properly lubricate where necessary as described in the manual,
- Cover the machine to protect it from dust or other contaminating elements. Use the original package, if available, or other suitable means
- Place the machine in dry location
B. Recovering from idle:
Whenever the machine has remained unused for a long period after been cleaned and sanitized, the sanitizing procedures described below must be performed just prior to start-up the machine.
- Remove the main cover and the secondary transparent one.
- Pour sanitizing solution (2% Sodium Hipocloryte) into the bowl carefully following the manufacturer prescriptions.
- After restoring the main cover, switch on the machine and let the auger rotating leaving the sanitizing solution for the time specified by its producer.
IMPORTANT
Never let the sanitizer inside the bowl for more than 15 minutes.
- Drain the solution by opening the plunger to allow the bowl to empty. Open and close the plunger at least 10 times during draining to sanitize the product way out area also.
- Thoroughly rinse repeating these operations with clean water instead of sanitizer solution.
- Now the machine is ready to be used.
Hot beverages/Chocolate

A. Idle preparation:
In order to prepare the unit before a long stop, it’s important to properly store the machine using the following procedures:
- Disconnect all power from the machine.
- Disassemble, wash and sanitize all parts that come in contact with the mix as described in the manual.
- Clean also all the exterior panels, the condenser and its filter if present.
- Reassemble all these parts taking care to properly lubricate where necessary as described in the manual,
- Cover the machine to protect it from dust or other contaminating elements. Use the original package, if available, or other suitable means
- Place the machine in dry location.
B. Recovering from idle:
Whenever the machine has remained unused for a long period after been cleaned and sanitized, the sanitizing procedures described below must be performed just prior to start-up the machine.
- Remove the main cover and the secondary transparent one.
- Pour sanitizing solution (2% Sodium Hipocloryte) into the bowl carefully following the manufacturer prescriptions.
- After restoring the main cover, switch on the machine and let the auger rotating leaving the sanitizing solution for the time specified by its producer.
IMPORTANT
Never let the sanitizer inside the bowl for more than 15 minutes.
- Drain the solution by opening the plunger to allow the bowl to empty. Open and close the plunger at least 10 times during draining to sanitize the product way out area also.
- Thoroughly rinse repeating these operations with clean water instead of sanitizer solution.
- Now the machine is ready to be used.
Laundry solutions
ATTENTION
Before carrying out any operation, remember to wear suitable PPE (personal protective equipment) such as: glasses, masks, gloves, safety shoes, suitable work clothes, etc.
In case of doubt, please refer to your local Electrolux Professional service agent: they will be happy to support you.
Washing machines
FRONT LOADED & BARRIER TYPE
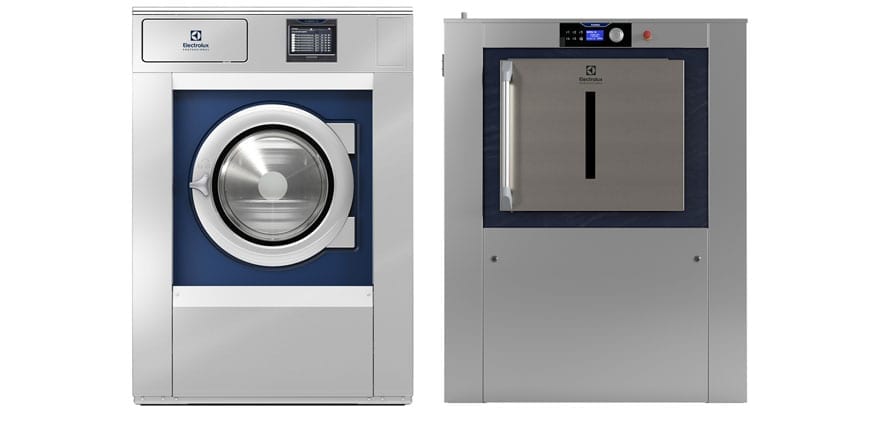
A. Idle preparation:
- Check the detergent and rinse agent(s) quantity and close the tanks (depending on equipment) to prevent the detergent and rinsing agents to dry. (if applicable)
- Switch off the power to the dosing system. Remove the detergent and rinse hoses from the machine and clean them from liquid agent. (if applicable)
- Clean the detergent box from deposits of detergents and rinse agents. Also clean the siphons for liquid agents.
- Run a rinse program with empty drum (without detergent added) to flush the drum cavities.
- Thoroughly clean the inner drum, also removing any debris, lime deposits (descale if needed).
- Clean the door gasket from any lint, debris etc.
- Close all water inlet valves and disconnect the inlet water hoses from the machine.
- Disconnect the machine from mains.
- Clean the inlet water filters and check the inlet water hoses (replace if needed). Reconnect the water hoses.
- Clean the drain hose and drain valve.
- Check the external general condition of the machine, and clean external surfaces with a damp cloth.
- Leave the drum door and detergent box lids ajar unless there is a risk of dust, insects, pests, etc. getting into the unit.
B. Recovering from idle:
- In case the washer was not properly prepared to idle, first refer to the above operations.
- In any case check the drum cavity of any presence of dust, insects, pests, etc. and thoroughly clean.
- Refer to your local Electrolux Professional service agent: they will be able to suggest if a refreshing kit for your unit is available. These kits contain door gaskets, shock absorbers and detergent containers. Replacing these parts when it’s needed will help you to increase the life span of the units and the well-being in your laundry.
- Replace the peristaltic pumps hoses (if applicable, a specialized engineer might be needed).
- Reconnect the inlet water hoses and reconnect the machine to mains.
- Open water inlet valve and switch ON the mains.
- Run a rinse program with empty drum (without detergent added) to flush the drum cavities from any residues.
- Prime the washing and rinsing agent(s) pumps and then put the machine back into service.
Tumble dryers
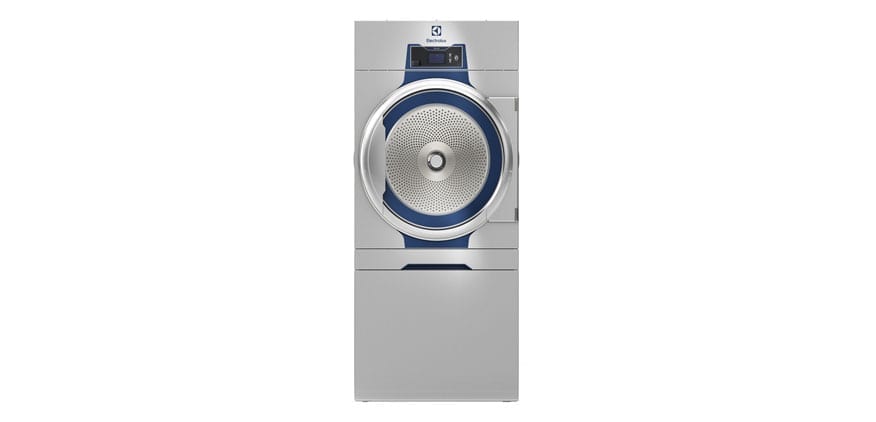
A. Idle preparation:
- Shut off any gas supply at the nearest isolation point (if applicable).
- Close any steam valve. Drain condensed steam from the steam heater (if applicable).
- Disconnect the machine from mains.
- Thoroughly clean the inside of the drum, also removing any debris, lint or lime deposits (descale if needed).
- Clean all lint filters as described in the manual and check the condition (replace if needed).
- For the models equipped with a heat pump:
- Check and clean the condense drain.
- (requires a specialized engineer) clean and check the condition of the special lint filter. Replace if needed
- (requires a specialized engineer) clean the condenser, the diffuser panel and more in general the heat pump unit
- Check and clean the door gasket.
- Check the external general condition of the machine, and clean external surfaces with a damp cloth.
- Leave the drum door ajar unless there is a risk of dust, insects, pests, etc. getting into the unit.
B. Recovering from idle:
- In case the dryer was not properly prepared to idle, first refer to the above operations.
- In any case check the drum cavity of any presence of dust, insects, pests, etc. and thoroughly clean.
- Refer to your local Electrolux Professional service agent: they will be able to suggest if a refreshing kit for your unit is available. These kits contain door gaskets, support rollers and lint filters. Replacing these parts when it’s needed will help you to increase the life span of the units and the well-being in your laundry.
- Reconnect the machine to mains.
- Open the gas supply and check for any leakage. (if applicable).
- Open the steam valve. (if applicable)
- Run a drying program with empty drum and check that the machine operates as intended, and then put the machine back into service.
